

Screen Mirroring PC to TV: 3 Methods That Work Tonight
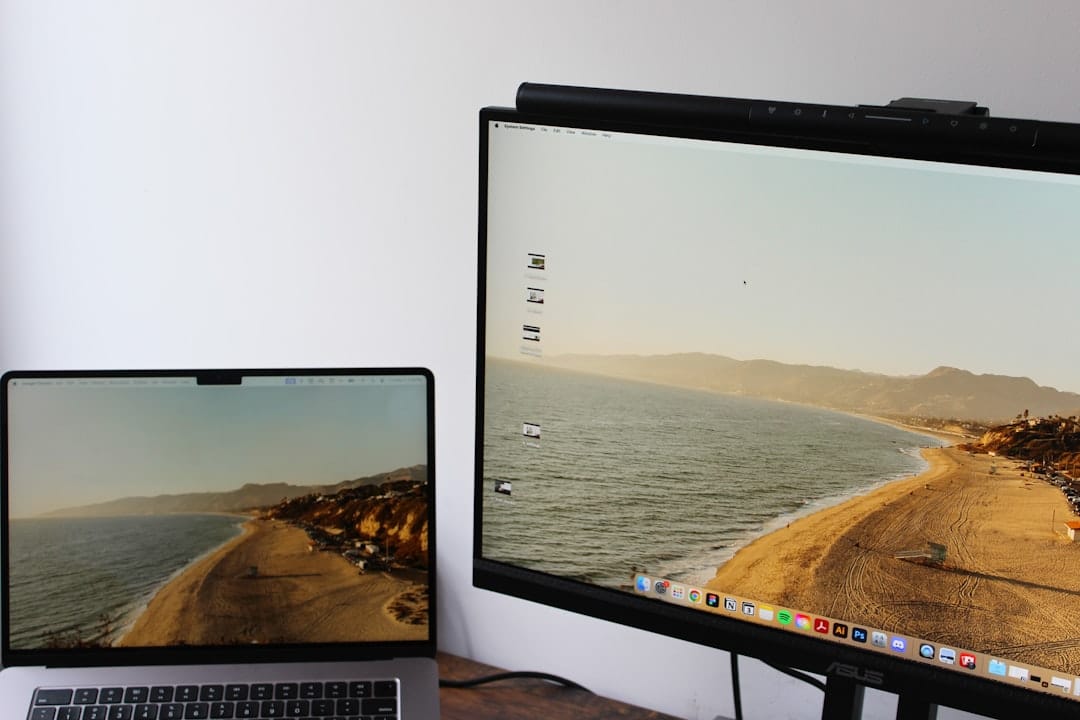
You need your entire PC screen on the TV tonight. Not a YouTube video cast to a Chromecast, not a single browser tab. Your whole desktop, live, on the big screen. Screen mirroring PC to TV is different from media casting, and knowing the difference saves you from choosing the wrong tool and wasting an hour. Here are the three methods that work right now, in order of convenience: Miracast on Windows, AirPlay on Mac, and a wired HDMI or USB-C cable as the fallback that never fails.
What Is Screen Mirroring (vs. Casting)?
Screen mirroring sends a live copy of your entire display to the TV. Everything on your screen appears on the TV in real time: your taskbar, your desktop icons, every open window, your cursor movements. If you minimize a window on your PC, the TV shows it minimize. If a notification pops up, the TV shows that too. Think of it as a wireless HDMI cable.
Casting is different. When you cast a video from YouTube or Netflix to a Chromecast, your PC hands the video URL to the Chromecast, which fetches and plays the stream independently. Your PC becomes a remote control, not the video source. You can close the browser tab, walk away, and the video keeps playing on the TV because the Chromecast is doing the work.
That distinction matters because the two solve different problems:
- Mirroring is what you need for presentations, browsing the web on the big screen, showing a spreadsheet, demonstrating software, or mirroring a game that does not have native casting support.
- Casting is better for playing a single video file or streaming a web video, because it frees up your PC and uses less CPU. If you just need to get a video file or URL onto your TV, casting is simpler. Our guide to casting from PC to Chromecast covers that workflow in detail.
Miracast and AirPlay both support mirroring (the full screen) and media streaming (handing a video to the receiver). But Miracast is primarily a mirroring protocol with no app-level casting, while AirPlay handles both. If you only need to play a video from a URL without mirroring your entire screen, you can skip all of this and paste the link into an online video player instead.
Method 1: Miracast on Windows (Built-In)
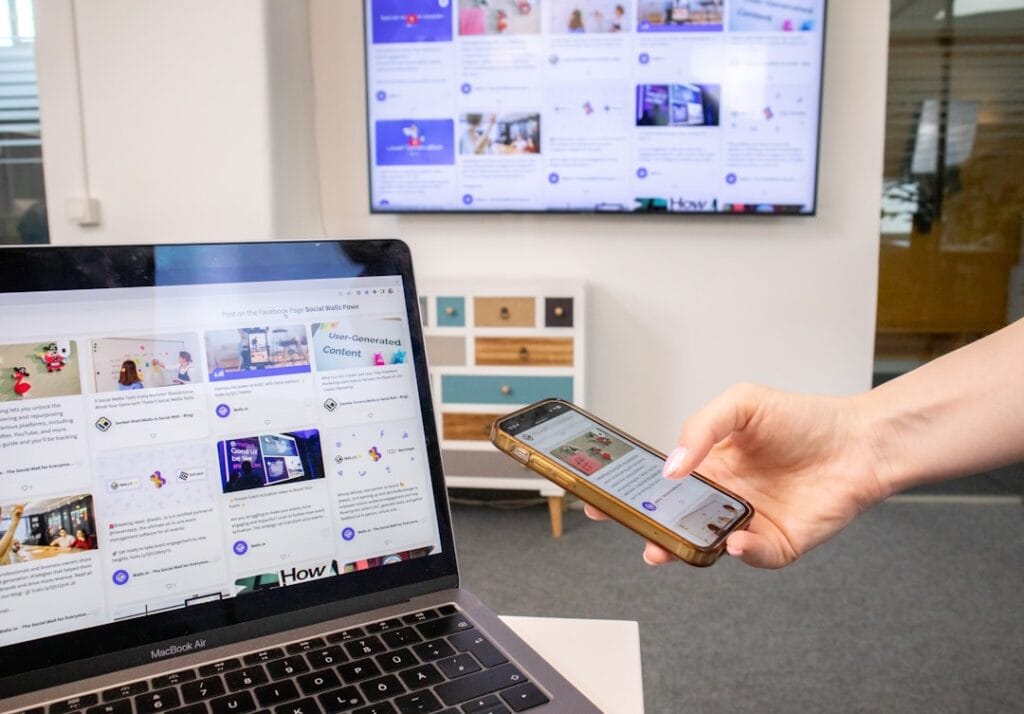
Miracast is the wireless display standard built into Windows 10 and 11. It works like a wireless HDMI cable: it mirrors your entire screen to a compatible TV or adapter, with audio, in real time. No apps to install, no browser required. If your TV is from the last 5 to 7 years and has Miracast support (most do, though Samsung TVs use their own proprietary protocol called Smart View), you can connect in under a minute.
Check If Your PC Supports Miracast
Before you try to connect, verify your PC can do Miracast. Miracast requires support from both your Wi-Fi driver and your graphics driver. If either one falls short, no setting will make it work.
The fastest check: press Windows Key + K. If your device supports Miracast, a Cast panel slides out and starts scanning for wireless displays. If it does not, you will see a message saying your device does not support Miracast and you need a cable.
For a deeper check, open Command Prompt and run:
netsh wlan show drivers
Scroll down and look for the line that says Wireless Display Supported. It should read Yes (Graphics Driver: Yes, Wi-Fi Driver: Yes). If the Wi-Fi Driver says No, Miracast will not work on this machine in its current state. You would need a different Wi-Fi adapter, a driver update, or a wired connection.
Connect to Your TV
Once you have confirmed support, here are the exact steps:
- Turn on your TV and switch it to the correct input. If you are using a Miracast adapter dongle plugged into an HDMI port, make sure it is powered on.
- On your Windows PC, press Windows Key + K.
- The Cast panel opens and scans for available wireless displays.
- Click your TV or adapter name in the list.
- If your TV shows a pairing prompt, select Allow or enter the PIN displayed on the TV.
- Within a few seconds, your desktop appears on the TV.
Choose Your Display Mode
After connecting, press Windows Key + P to choose how the two screens work together:
- Duplicate: Both screens show the same content. This is what most people want for screen mirroring PC to TV.
- Extend: The TV becomes a second monitor with its own desktop space. Useful if you want to keep your laptop screen for notes while the TV shows a presentation.
- Second screen only: Everything moves to the TV and your laptop screen goes dark. Saves battery and eliminates the distraction of two screens.
For presentations and browsing, Duplicate is the default you want. For gaming, Second screen only can reduce latency slightly since Windows is not driving two displays simultaneously.
One Important Catch About Audio
Miracast sends audio along with video by default, but Windows does not always switch your audio output to the TV automatically. If the picture is on the TV but sound is coming from your laptop speakers, right-click the speaker icon in the taskbar, select Sound settings, and under Output device, select your TV or the Miracast display. If you do not see it listed, disconnect and reconnect, then check again.
Miracast uses Wi-Fi Direct, a peer-to-peer connection between your PC and the TV, so it does not need your home Wi-Fi router to work. This is a real advantage over Chromecast and AirPlay, which both require devices to be on the same network. But it also means that if your Wi-Fi driver does not support Wi-Fi Direct, Miracast is a non-starter no matter what TV you have.
Method 2: AirPlay from Mac to Apple TV or AirPlay 2 TV
If you are on a Mac, AirPlay is your built-in path to screen mirroring. You need an Apple TV or a Smart TV that supports AirPlay 2. Many recent TVs from Samsung, LG, Sony, and Vizio include AirPlay 2 support without requiring an Apple TV. Your Mac and the TV must be on the same Wi-Fi network.
Start Mirroring from the Menu Bar
On macOS Big Sur or later (including macOS Sequoia and macOS Tahoe), the process is straightforward:
- Click the Control Center icon in the menu bar (it looks like two small toggles in the top-right corner).
- Click Screen Mirroring.
- Select your Apple TV or AirPlay 2-compatible TV from the list.
- If prompted, enter the four-digit code displayed on your TV.
- Choose whether to Mirror your display or use the TV as a separate display. Mirroring duplicates your screen. Separate display extends it.
On macOS Catalina or earlier, click the AirPlay icon (a triangle with waves) in the menu bar and select your Apple TV.
Mirror vs. Extend vs. AirPlay Video
AirPlay gives you three distinct modes, and knowing which one you are using prevents confusion:
- Screen Mirroring: Your entire Mac display appears on the TV. Cursor, menu bar, dock, everything. This is full-screen mirroring, the equivalent of Miracast on Windows.
- Extend Display: The TV becomes a second monitor. You can drag windows between your Mac screen and the TV. Good for keeping your desktop private while showing a specific app on the TV.
- AirPlay Video: When you click the AirPlay icon inside a video player (QuickTime, Safari, or compatible web players), only the video is sent to the TV. Your desktop stays private. This is closer to casting than mirroring.
For the cross-screen viewer who needs their whole desktop visible, choose Screen Mirroring. For showing a single video without exposing your desktop, AirPlay Video is the better choice.
Fixing the Cropped Image
If your mirrored screen looks cropped or zoomed on the TV, go to the Apple TV settings: Settings > AirPlay & Home > AirPlay Display Underscan and toggle it on. If you see black bars around the image, turn it off. On some TVs, you may also need to set the TV aspect ratio to “Just Scan” or “16:9” rather than “Zoom” or “Auto Wide.”
macOS Screen Recording Permission
On macOS 15 (Sequoia) and later, screen mirroring may require screen recording permission. Go to System Settings > Privacy & Security > Screen Recording and make sure the relevant app (or the system process) is listed and enabled. Without this, mirroring can produce a black screen silently. Restart your Mac after granting permission if it does not take effect immediately.
Method 3: Wired Fallbacks (HDMI, USB-C)
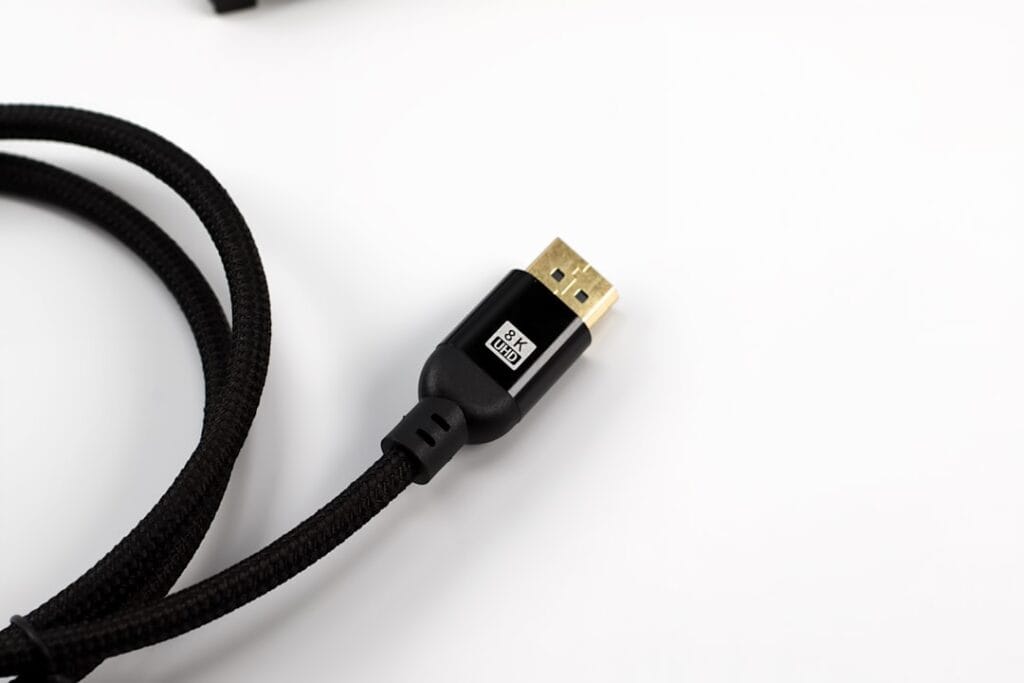
When wireless mirroring fails, and it will at some point, a cable is the zero-configuration fallback that always works. No driver checks, no network discovery, no codec compatibility. Plug it in, switch the TV to the right HDMI input, and you are done. For presentations, gaming, or any situation where latency and reliability matter, a wired connection is the strongest option despite the cable.
HDMI: The Universal Standard
Most laptops still have a full-size HDMI port. If yours does, grab any HDMI cable, connect one end to your laptop and the other to your TV, and switch the TV to that HDMI input. Windows and macOS both detect the display automatically and let you choose Duplicate, Extend, or Second screen only.
For 4K at 60Hz, you need an HDMI 2.0 cable or higher. Older HDMI 1.4 cables max out at 4K 30Hz, which looks choppy for anything with motion. If your TV has an HDMI port labeled “HDMI 2.0” or “HDMI ARC,” use that one. ARC ports are not required for video but they are typically the highest-bandwidth ports on the TV.
USB-C to HDMI: For Modern Laptops Without HDMI
Many modern laptops, especially MacBooks and thin-and-light Windows ultrabooks, have dropped the full-size HDMI port in favor of USB-C. To connect to a TV, you need a USB-C to HDMI cable or adapter that supports DisplayPort Alternate Mode.
Not all USB-C ports support video output. A USB-C port that only does charging and data will not send a video signal no matter what cable you buy. Look for a Thunderbolt 3, Thunderbolt 4, or DisplayPort Alt Mode label next to the port. If you see one of those, a USB-C to HDMI cable will work. For 4K 60Hz, the cable must support HDMI 2.0 on the HDMI end and DP 1.2 or higher on the USB-C end.
Comparison: Which Method Should You Use?
| Method | Best For | Setup Time | Latency | Requires |
|---|---|---|---|---|
| Miracast (Windows) | Wireless full-screen mirroring on Windows | 1-2 minutes | ~150-180 ms | Miracast-capable Wi-Fi driver, Miracast TV or adapter |
| AirPlay (Mac) | Wireless mirroring from Mac to Apple TV or AirPlay 2 TV | 1 minute | ~150 ms | Same Wi-Fi network, Apple TV or AirPlay 2 TV |
| HDMI cable | Zero-latency presentations, gaming, 4K video | 30 seconds | Negligible | HDMI port on laptop, HDMI cable |
| USB-C to HDMI | Laptops without HDMI port | 30 seconds | Negligible | DP Alt Mode USB-C port, USB-C to HDMI cable |
If your primary use case is gaming, skip wireless entirely. Even the best Miracast and AirPlay connections add 150 to 180 milliseconds of latency, which is enough to make real-time games feel sluggish. For browsing and presentations, that delay is barely noticeable. For competitive gaming, it is unplayable.
Troubleshooting Common Mirroring Issues
Wireless mirroring fails in predictable ways. Here are the most common problems, ranked by how often they occur, with the fix for each one. Work through them in order, starting with the most common.
Problem 1: TV Not Showing Up in the Device List
You press Windows Key + K or open Screen Mirroring on your Mac, and the list is empty or your TV does not appear.
- Wi-Fi is off: On Windows, make sure Wi-Fi is turned on even though Miracast uses Wi-Fi Direct. Windows needs the Wi-Fi stack active. On Mac, AirPlay requires Wi-Fi to be on and both devices on the same network.
- AP isolation / Guest network: If your PC and TV are on a guest network, the router may block devices from discovering each other. This is called AP isolation or client isolation. Check your router settings and disable it, or connect both devices to your main network.
- VPN running: A VPN routes traffic through a different network, which breaks local device discovery via mDNS. Disable the VPN, start the mirroring session, then re-enable it if needed. Some VPNs offer split tunneling to let local traffic bypass the tunnel.
- Different Wi-Fi bands: On a dual-band router, your PC on 5GHz and your TV on 2.4GHz may be on different subnets and cannot see each other. Connect both to the same band, or check that your router bridges the two bands.
- TV firmware outdated: Check your TV settings for a firmware update. Many Miracast and AirPlay discovery bugs are fixed in TV manufacturer updates.
Problem 2: Connected But Black Screen
The TV shows as connected, but the screen is black or frozen.
- macOS screen recording permission: On macOS 15 and later, go to System Settings > Privacy & Security > Screen Recording and make sure the mirroring process is enabled. Restart your Mac after granting.
- Wrong display selected (Windows): If you have multiple monitors, you may be casting the wrong one. Press Windows Key + P and check which display is being shared.
- Resolution mismatch: If your TV cannot handle the resolution your PC is outputting, it may show a black screen. Go to Settings > System > Display (Windows) or System Settings > Displays (Mac) and lower the resolution to 1080p, then reconnect.
- DRM-protected content: Both Miracast and AirPlay have DRM layers, but some content from streaming services blocks mirroring entirely. If you are trying to mirror a Netflix or Hulu window and getting a black screen, the service is blocking it by design. This is not a bug you can fix.
Problem 3: Video Plays But No Audio on TV
- Windows: Right-click the speaker icon in the taskbar, select Sound settings, and under Output device, select your TV or the wireless display. If it is not listed, disconnect and reconnect the mirroring session.
- Mac: Click the Sound icon in the menu bar (if visible) and select your Apple TV or TV. If the icon is not in the menu bar, go to System Settings > Sound and change the output device there.
- Audio enhancements interference (Windows): Go to Sound settings > More sound settings > Playback tab > right-click your TV > Properties > Advanced tab > uncheck “Enable audio enhancements.” Enhancements can interfere with Miracast audio routing.
Problem 4: Stuttering, Lag, or Dropping Connection
- Wi-Fi congestion: Move closer to your router. If other devices are streaming or downloading on the same network, pause them. Switch to a 5GHz band if available, which has more bandwidth and less interference than 2.4GHz.
- Laptop power saving: On Windows, go to Settings > System > Power & battery and set power mode to Best performance. Power saving modes can throttle the encoding pipeline that Miracast uses, causing stutter.
- Close GPU-intensive apps: Miracast encodes your screen in real time using your GPU. If you have a game, video editor, or 3D rendering tool running, it competes for GPU resources and can cause lag. Close anything heavy that you are not actively using.
- Update drivers: An outdated Wi-Fi or graphics driver is a common cause of Miracast instability. Check Windows Update or your manufacturer’s website for the latest drivers.
Related Tools and Next Steps
If you made it this far and realized you do not actually need full-screen mirroring, you just want to play a video on a bigger screen, there is a faster path. Instead of configuring Miracast or AirPlay, paste a video URL into the Online Video Player, hit Play, and you are watching in seconds. No casting setup, no wireless display configuration, no cable. The player runs in your browser and handles direct file links, HLS streams, and cloud storage shares.
For a broader look at every wireless method available, including Chromecast, Roku, and third-party adapters, our guide to wirelessly connecting your TV to your computer covers all seven major methods with step-by-step instructions for Windows, Mac, and Smart TVs.
And if your video will not play because of a codec error rather than a connection problem, remember the container-and-codec distinction: the container format (.mp4, .mkv) is the box that holds the video, audio, and metadata. The codec (H.264, H.265) is the compression method inside that box. A .mkv file with H.265 video and AC-3 audio will fail in some players even though the container is supported. The fix: convert to MP4 with H.264 video and AAC audio, or use a player that handles the codec natively.
Ready to skip the setup and just play your video? Bookmark the Online Video Player page for next time so you never have to hunt for a player again. Paste your link, hit Play, and you are watching in seconds.
Frequently Asked Questions
Does Miracast require my PC and TV to be on the same Wi-Fi network?
No. Miracast uses Wi-Fi Direct, a peer-to-peer connection between your PC and the TV, so it does not need your home Wi-Fi router. AirPlay, however, does require both your Mac and the TV to be on the same Wi-Fi network.
Why does my TV not appear when I press Windows Key + K?
Miracast requires support from both your Wi-Fi driver and your graphics driver. Press Windows Key + K to check. If you see a message saying your device does not support Miracast, the issue is your Wi-Fi driver, not the TV. You can confirm by running netsh wlan show drivers in Command Prompt and looking for Wireless Display Supported.
Can I use AirPlay to mirror my Mac to a non-Apple TV?
Right-click the speaker icon in the taskbar, select Sound settings, and under Output device, select your TV or the wireless display. If it is not listed, disconnect and reconnect the mirroring session, then check again.
Is screen mirroring good enough for gaming?
For gaming, use an HDMI cable. Wireless mirroring adds 150 to 180 milliseconds of latency, which is fine for browsing and presentations but makes real-time games feel sluggish. A wired connection has negligible latency.
What should I do if I get a black screen when mirroring Netflix or Hulu?
That is DRM protection. Streaming services like Netflix and Hulu block screen mirroring by design to prevent unauthorized recording. The black screen is intentional and cannot be bypassed. Use the service’s native app on your TV instead.