

Chromecast From PC: Cast Tabs, Desktop & Local Files
Casting from your PC to a Chromecast takes about two minutes once you know the right menu path. Whether you want to send a single Chrome tab, mirror your entire desktop, or play a local MKV or MP4 file on the big screen, the process is built into the Google Chrome browser on both Windows 10/11 and macOS. No extensions, no extra software, no cables. This guide walks through every method with exact menu paths and fixes the three problems that derail Chromecast PC casting most often: device not found, audio not casting, and black screen.
What You Need Before You Start
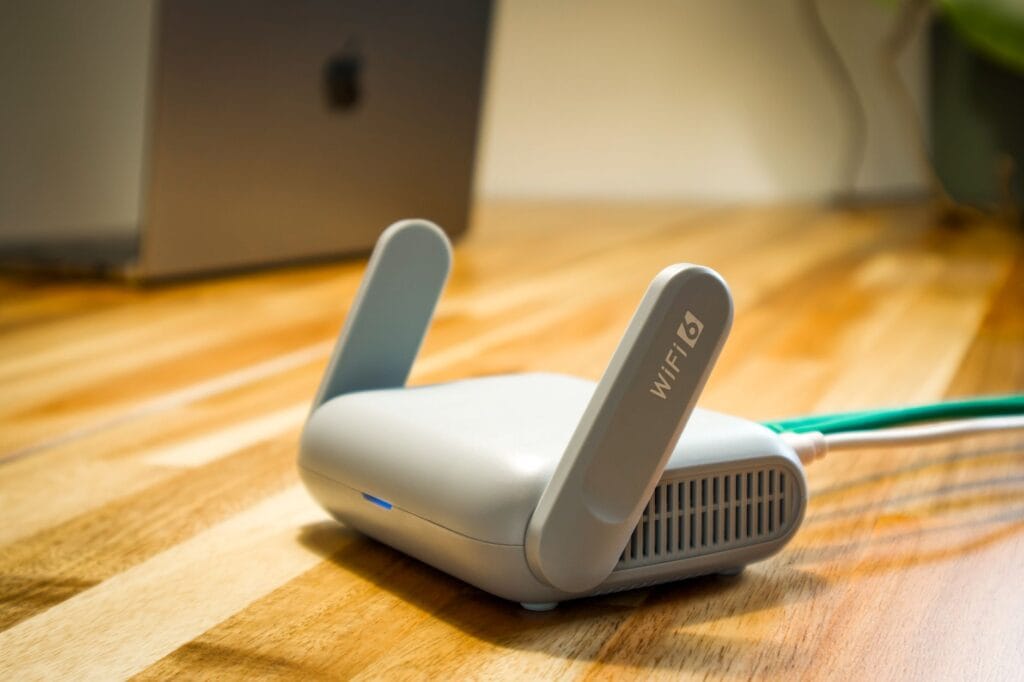
You need a Chromecast device (or a TV with Google Cast built in), the Google Chrome browser on your Windows 10/11 PC or Mac, and both devices on the same Wi-Fi network. That is the entire checklist. No drivers, no extensions, no extra downloads.
Verify the basics before you open Chrome:
- Chromecast plugged into your TV’s HDMI port and powered on
- TV switched to the correct HDMI input
- Chrome updated to the latest version (three-dot menu > Help > About Google Chrome)
- PC or Mac connected to the same Wi-Fi network as the Chromecast
On macOS 15 (Sequoia) and later, you must give Chrome permission to record your screen. Go to System Settings > Privacy & Security > Screen Recording, make sure Google Chrome is listed and enabled, then restart Chrome. Without this, desktop mirroring will fail silently and you will get a black screen.
One quick network tip: if your router has a feature called “AP isolation” or “client isolation” enabled, your PC and Chromecast will be on the same network but unable to discover each other. This is a common security setting on guest networks. Check your router’s wireless settings and disable it if casting does not detect your device.
If you are new to wireless display options in general, our guide on how to wirelessly connect your TV to your computer covers Miracast, AirPlay, Chromecast, and more. This article focuses specifically on the Chromecast from PC workflow.
Cast a Chrome Tab to Your TV
Tab casting sends a single Chrome tab to your TV while keeping the rest of your screen private. It is the best choice for streaming web video, browser-based presentations, or any content that lives inside a browser tab. Audio is sent to the TV automatically, so you do not need to configure sound separately.
Step-by-Step: Cast a Tab
- Open Google Chrome and navigate to the page you want to cast
- Click the three-dot menu icon in the top-right corner of Chrome
- Select Cast, save, and share > Cast… from the dropdown menu
- A cast dialog appears showing available devices. Click the Sources dropdown (it may appear as a small arrow or “Sources” label depending on your Chrome version)
- Select Cast tab (this is usually the default)
- Click the name of your Chromecast device
- Within a few seconds, the tab appears on your TV
A blue Cast icon appears next to the address bar while the session is active. Click it and select Stop casting to end the session.
Adjusting Cast Quality
While a cast session is active, click the Cast icon in the toolbar to find quality options. “Standard (480p)” reduces bandwidth for congested networks. “High definition (720p)” and “Extreme (1080p)” deliver sharper image quality on capable networks. For movie night, aim for 720p or 1080p if your Wi-Fi can sustain it. If the picture stutters, drop to 480p and test whether bandwidth is the bottleneck.
Tab casting has lower CPU overhead than desktop mirroring, which makes it the better choice on a laptop. The encoding pipeline only captures the browser tab content, not your full screen, so your computer stays responsive while the video plays smoothly on the TV.
Mirror Your Entire Desktop
Desktop mirroring sends your full screen to the TV: taskbar, desktop icons, every open window, everything. Use this when your content lives outside the browser, like a PowerPoint or Keynote presentation, a video playing in VLC, or any desktop application that cannot run in a Chrome tab.
On Windows 10 and Windows 11
- Open Google Chrome
- Click the three-dot menu > Cast, save, and share > Cast…
- Click the Sources dropdown and select Cast screen
- A dialog appears listing your displays. If you have multiple monitors, pick the one you want to share
- Check the box labeled Share audio in the bottom-left corner of this dialog. This step is critical: without it, video goes to the TV but sound stays on your PC
- Click your Chromecast device name to begin casting
On macOS
The process is identical to Windows, with one extra requirement. On macOS 15 and later, Chrome needs screen recording permission (covered in the setup section above). Once that is granted:
- Open Chrome and click the three-dot menu > Cast, save, and share > Cast…
- Click Sources > Cast screen
- Select your Chromecast device
On macOS, the Share audio checkbox appears for desktop casting but may not capture all system audio depending on your macOS version. If audio does not route to the TV, switch to tab casting and play your video inside a Chrome tab instead. Tab-based audio routing is more reliable on Mac than desktop audio capture.
Why Desktop Casting Hits Your CPU Harder
Desktop casting captures and encodes your entire display continuously. On older laptops, this can cause a laggy, stuttering picture on the TV and make your computer feel sluggish at the same time. If you only need to show a browser tab, use tab casting instead. It uses significantly less CPU because Chrome only encodes the tab content, not the full screen.
Stream Local Video Files From Your PC
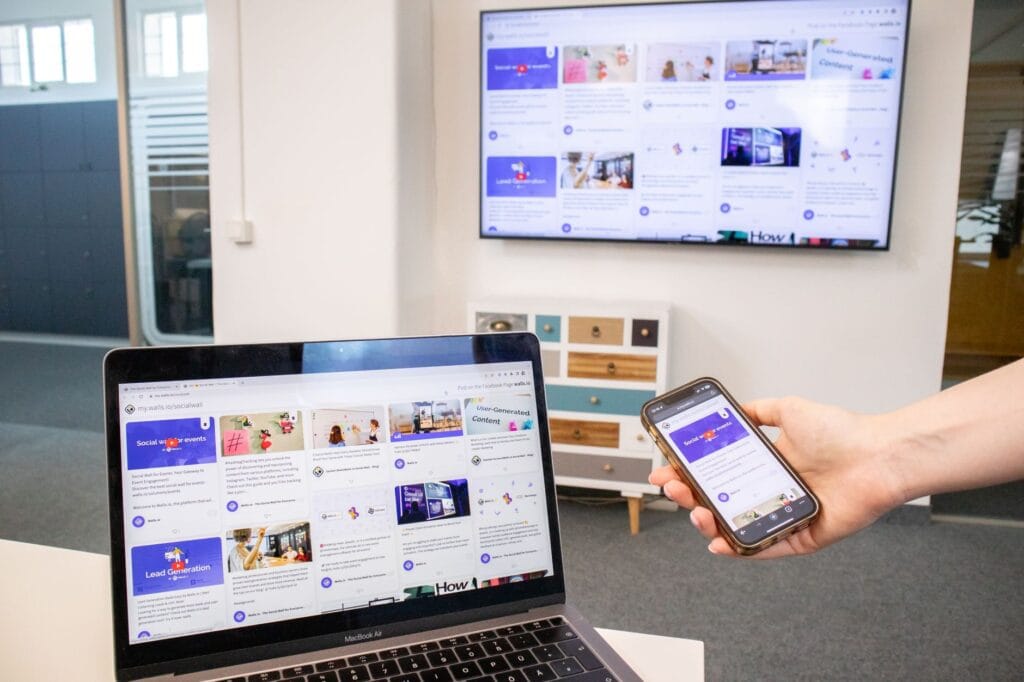
If you have a downloaded movie or video clip on your hard drive, you can cast it to your TV without mirroring your entire desktop. Chrome can play local video files directly in a tab, and then you cast that tab. This keeps your desktop private and uses less processing power than full-screen mirroring.
Method 1: Drag and Drop Into Chrome
- Open a new tab in Chrome
- Drag your video file from File Explorer (Windows) or Finder (macOS) directly into the Chrome window
- Chrome’s built-in video player opens and starts playing the file
- Click the three-dot menu > Cast, save, and share > Cast…
- Select Cast tab and choose your Chromecast device
The video plays on your TV with audio automatically routed to the TV speakers. You can navigate to other tabs on your PC while the video keeps playing on the TV.
Method 2: Open File via Keyboard Shortcut
Press Ctrl + O (Windows) or Cmd + O (macOS) to open a file browser dialog. Select your video file and Chrome plays it in a new tab. Then cast the tab using the same steps above. This is useful when you do not want to resize windows for drag-and-drop.
Method 3: Cast File Directly
In the Cast dialog, click the Sources dropdown and select Cast file. Choose your video file, then select your Chromecast device. Chrome sends the file directly to the Chromecast for playback rather than playing it in a tab first. This can produce smoother playback for large files since the Chromecast handles the decoding.
Supported Formats and the MKV Problem
Chrome’s built-in player handles these container formats: .mp4, .webm, .mov, .m4v, .ogv, .ogm, .3gp, .avi, and .mkv. However, there is a catch that trips up a lot of people. The container format (the file extension) is the box that holds the video, audio, and metadata. The codec (like H.264, H.265, or VP9) is the compression method used inside that box. A .mkv file might use H.264 video with AAC audio, which plays fine in Chrome. Or it might use H.265 video with AC-3 audio, which Chrome cannot decode.
If your file plays with video but no audio, or fails to load entirely, the codec inside the container is the likely culprit. The most universally compatible combination across all browsers and casting devices is MP4 with H.264 video and AAC audio. If your MKV file will not play, convert it to MP4 (H.264/AAC) using a free tool like HandBrake.
Another option: open the file in VLC media player and use VLC’s built-in Cast feature. In VLC, go to Playback > Renderer > select your Chromecast device. VLC handles a wider range of codecs than Chrome’s built-in player, so it can play MKV files with AC-3 or DTS audio that Chrome silently fails on.
Comparison of Chromecast Casting Methods
| Method | Best For | Audio to TV | CPU Load | Privacy |
|---|---|---|---|---|
| Cast tab | Web video, browser content | Automatic | Low | Only the tab is shared |
| Cast desktop | Non-browser apps, full-screen demos | Requires “Share audio” checkbox | High | Entire screen visible |
| Cast file / drag-and-drop | Local MKV and MP4 files | Automatic (tab mode) | Low | Only the file is shared |
For a deeper dive into playing video files directly in your browser, our guide on how to play a video URL in seconds covers direct links, cloud storage shares, and format compatibility in detail.
Fix Common Chromecast From PC Problems
Three issues account for nearly every casting failure from a PC. Work through them in order, starting with the most common.
Problem 1: Chromecast Device Not Found
You open the Cast menu and see no devices listed, or your Chromecast does not appear in the list.
- Confirm both your PC and Chromecast are on the same Wi-Fi network. This is the number one cause. A PC on the 5GHz band and a Chromecast on 2.4GHz on the same dual-band router may be assigned to different subnets and cannot see each other.
- Restart your Chromecast by unplugging it from power for 10 seconds, then plugging it back in. Wait for the solid white light before trying again.
- Restart your Wi-Fi router. A stale network state is a common cause of discovery failures.
- Disable any VPN or proxy software running on your PC. VPNs route traffic through a different network, which breaks local device discovery via mDNS (multicast DNS, the protocol Chrome uses to find Chromecast devices on your network).
- Check your router settings for AP isolation (also called client isolation or guest isolation) and disable it. This feature blocks devices on the same network from discovering each other.
- Update Chrome: three-dot menu > Help > About Google Chrome. An outdated browser can fail to detect casting devices.
Problem 2: Audio Not Casting
Video appears on your TV but sound plays from your PC speakers, or there is no audio at all.
- If you are casting a tab: audio should go to the TV automatically. If it does not, stop casting and start a new session. Confirm you selected “Cast tab” and not “Cast screen.”
- If you are casting your desktop: look for the Share audio checkbox in the screen-sharing dialog before you select your Chromecast. Without this checkbox enabled, desktop video casts without audio. The checkbox only appears when “Cast screen” is selected, not for tab casting.
- On Windows 11: there was a known bug where Chromecast audio became choppy or distorted when Chrome was minimized or running in the background. Windows 11 was throttling high-resolution timers for background apps to save power. The fix was rolled into Chrome version 135 and later. If you are on an older version, update Chrome.
- On Windows: right-click the speaker icon in the taskbar, select Sound settings, and confirm your default output device is set correctly. Then scroll to More sound settings > Playback tab > right-click your default device > Properties > Advanced tab > uncheck Enable audio enhancements. Audio enhancements can interfere with casting.
- On macOS: if system audio does not route to the TV during desktop casting, switch to tab casting and play your video inside a Chrome tab. macOS audio routing for desktop mirroring is less reliable than tab-based audio.
Problem 3: Black Screen or No Video
Your Chromecast connects but the TV shows a black screen, or the cast session starts and immediately drops.
- On macOS: go to System Settings > Privacy & Security > Screen Recording and make sure Google Chrome is enabled. Restart Chrome after granting permission. This is the most common cause of black screen on Mac.
- On Windows: if you have multiple displays, make sure you selected the correct screen in the desktop casting dialog. Casting the wrong display produces a black or frozen image on the TV.
- Lower the cast quality. Click the Cast icon while a session is active and set quality to “Standard (480p)” to test whether bandwidth is the issue. If video appears at 480p but not at 1080p, your Wi-Fi cannot sustain the higher bitrate. Move closer to your router or switch to a 5GHz network.
- Close bandwidth-heavy applications. Other devices streaming video or downloading large files on the same network can starve the cast session of the bandwidth it needs.
- Disable browser extensions that might interfere with rendering. Screen capture extensions, ad blockers, or privacy extensions can disrupt the casting pipeline.
- Restart both your PC and Chromecast. A stale network state on either device can cause the cast to start and immediately fail.
If your local video file keeps producing a black screen even after casting works, the issue is likely the codec, not the connection. Check the format troubleshooting section above for details on converting MKV files to a Chromecast-friendly format.
Related Tools and Next Steps
If your video is hosted online rather than sitting on your hard drive, you can skip the casting setup entirely. Paste a direct video URL into the Online Video Player and hit Play. No Chromecast, no cables, no software installs. Your video streams directly from its source to your screen in seconds. The player handles direct file links, HLS streams, and converted cloud storage links, all in your browser with zero installs.
For a broader look at wireless display options beyond Chromecast, including Miracast, AirPlay, and third-party adapters, our guide to wirelessly connecting your TV to your computer covers every method with step-by-step instructions for Windows, Mac, and Smart TVs.
Want to play a video from a URL right now? Paste your link into the Online Video Player, hit Play, and you are watching in seconds. Bookmark our site for next time so you never have to hunt for a player again.
Frequently Asked Questions
Can I cast from my PC to Chromecast without using the Chrome browser?
Chrome is the only browser with built-in Chromecast support. Firefox, Safari, and Edge do not offer native Chromecast casting in the same way. You can use VLC media player as an alternative, which has its own Cast feature under Playback > Renderer > select your Chromecast. But for tab and desktop casting, Google Chrome is required.
How do I cast a local MKV file that will not play in Chrome?
Chrome supports the MKV container but may not support the codec inside it. If your MKV uses H.265 video or AC-3 audio, Chrome may fail to play it. Convert the file to MP4 with H.264 video and AAC audio using a free tool like HandBrake, or open it in VLC and use VLC’s Cast feature under Playback > Renderer.
Why does my desktop cast have video but no audio?
When casting your desktop, you must check the ‘Share audio’ checkbox in the screen-sharing dialog before selecting your Chromecast. This checkbox only appears when ‘Cast screen’ is selected as the source. If it is missing, update Chrome to the latest version. On macOS, tab casting provides more reliable audio routing than desktop casting.
Can I use Chromecast from my PC while a VPN is running?
VPNs often break Chromecast discovery because they route your traffic through a different network, preventing your PC from finding the Chromecast via local mDNS. Disable your VPN temporarily, start the cast session, then re-enable it if needed. Some VPNs offer a split-tunneling option that lets local network traffic bypass the VPN.
Does tab casting or desktop casting use more CPU?
Desktop casting uses significantly more CPU because Chrome captures and encodes your entire screen continuously. Tab casting only captures the content of a single browser tab, which is much lighter. On older laptops, desktop casting can cause stuttering on the TV and sluggishness on your computer. Use tab casting whenever possible for smoother playback.